Transform a Door Into an Entrance: How to Install Granite Entry Steps
Whether you’re considering replacing existing steps or are designing new construction, adding natural stone steps to a home’s exterior brings beauty and long lasting elegance to any entryway project.
Just ask Tom Kraus, a Massachusetts-based landscape designer and owner of Natural Path Landscaping, who only uses granite products for the many steps and entrances he installs for clients each year.
“Not only is it beautiful and fun to work with, but granite never fails,” he said. He pointed out that generally when he’s been hired to design and install new steps, that requires existing steps to be removed, “which had ultimately failed.”

The key to making sure granite steps last a lifetime, said Kraus, is proper design and installation that address all critical details. He investigates why the previous structure failed, carefully measures the slope and then determines the step tread width to best match that slope.
While granite steps can weigh between 400 and 1,600 pounds, installation can generally be handled by a two-man crew if pieces selected aren’t too heavy. The steps are installed one at a time, beginning at the bottom, making sure each step has a properly compacted foundation. His crew uses a Bobcat to transport each piece to its new location and then use rollers and levers to position it precisely by hand, Kraus explained.
Laying granite steps on top of a gravel pad creates a permeable base for the steps and allows water to run through the joints where it “percolates” through the crushed stone within. “That’s how you avoid any damage from freezing,” he explained. “Frost is so powerful it could actually move a granite step.”
“Properly installed granite is set dry, without any mortar, so there’s nothing to come apart through the winter freeze/thaw cycle,” he said.

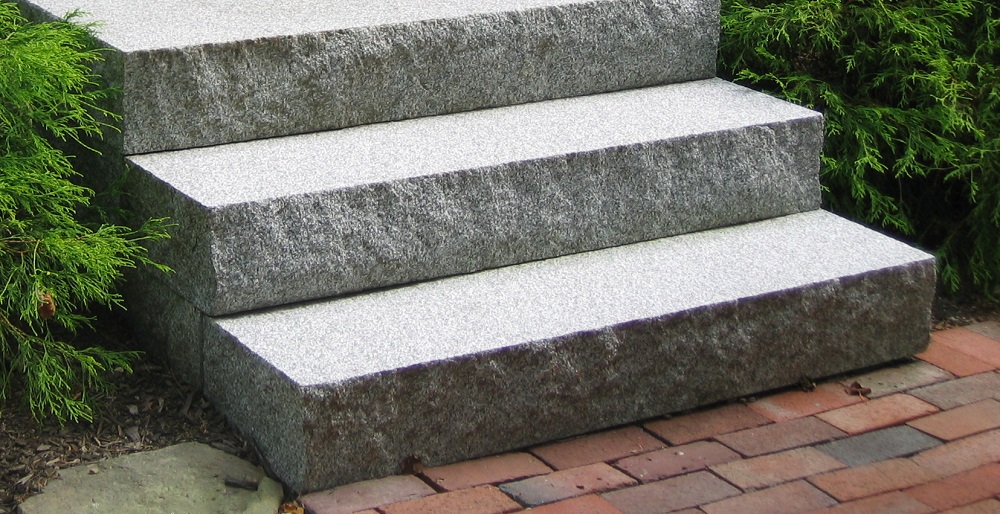
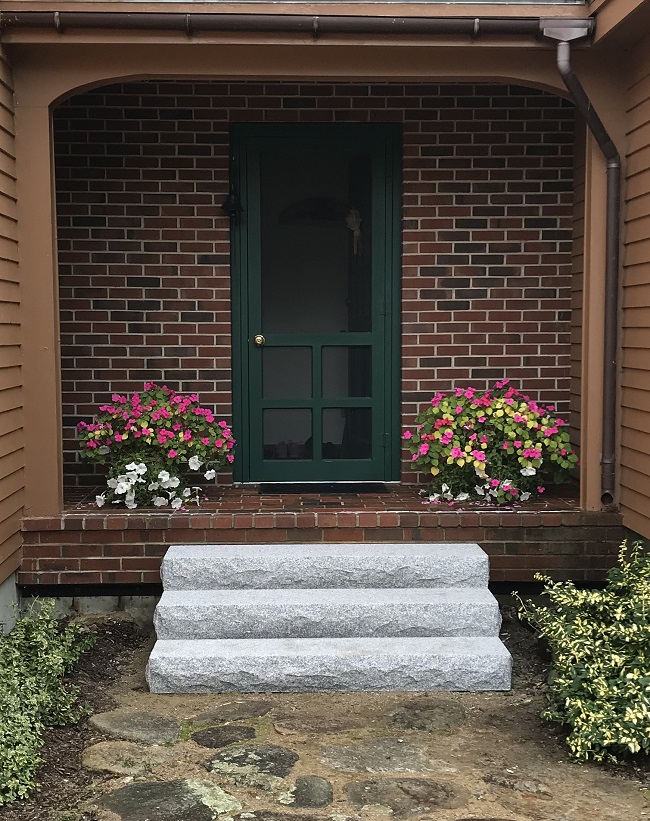
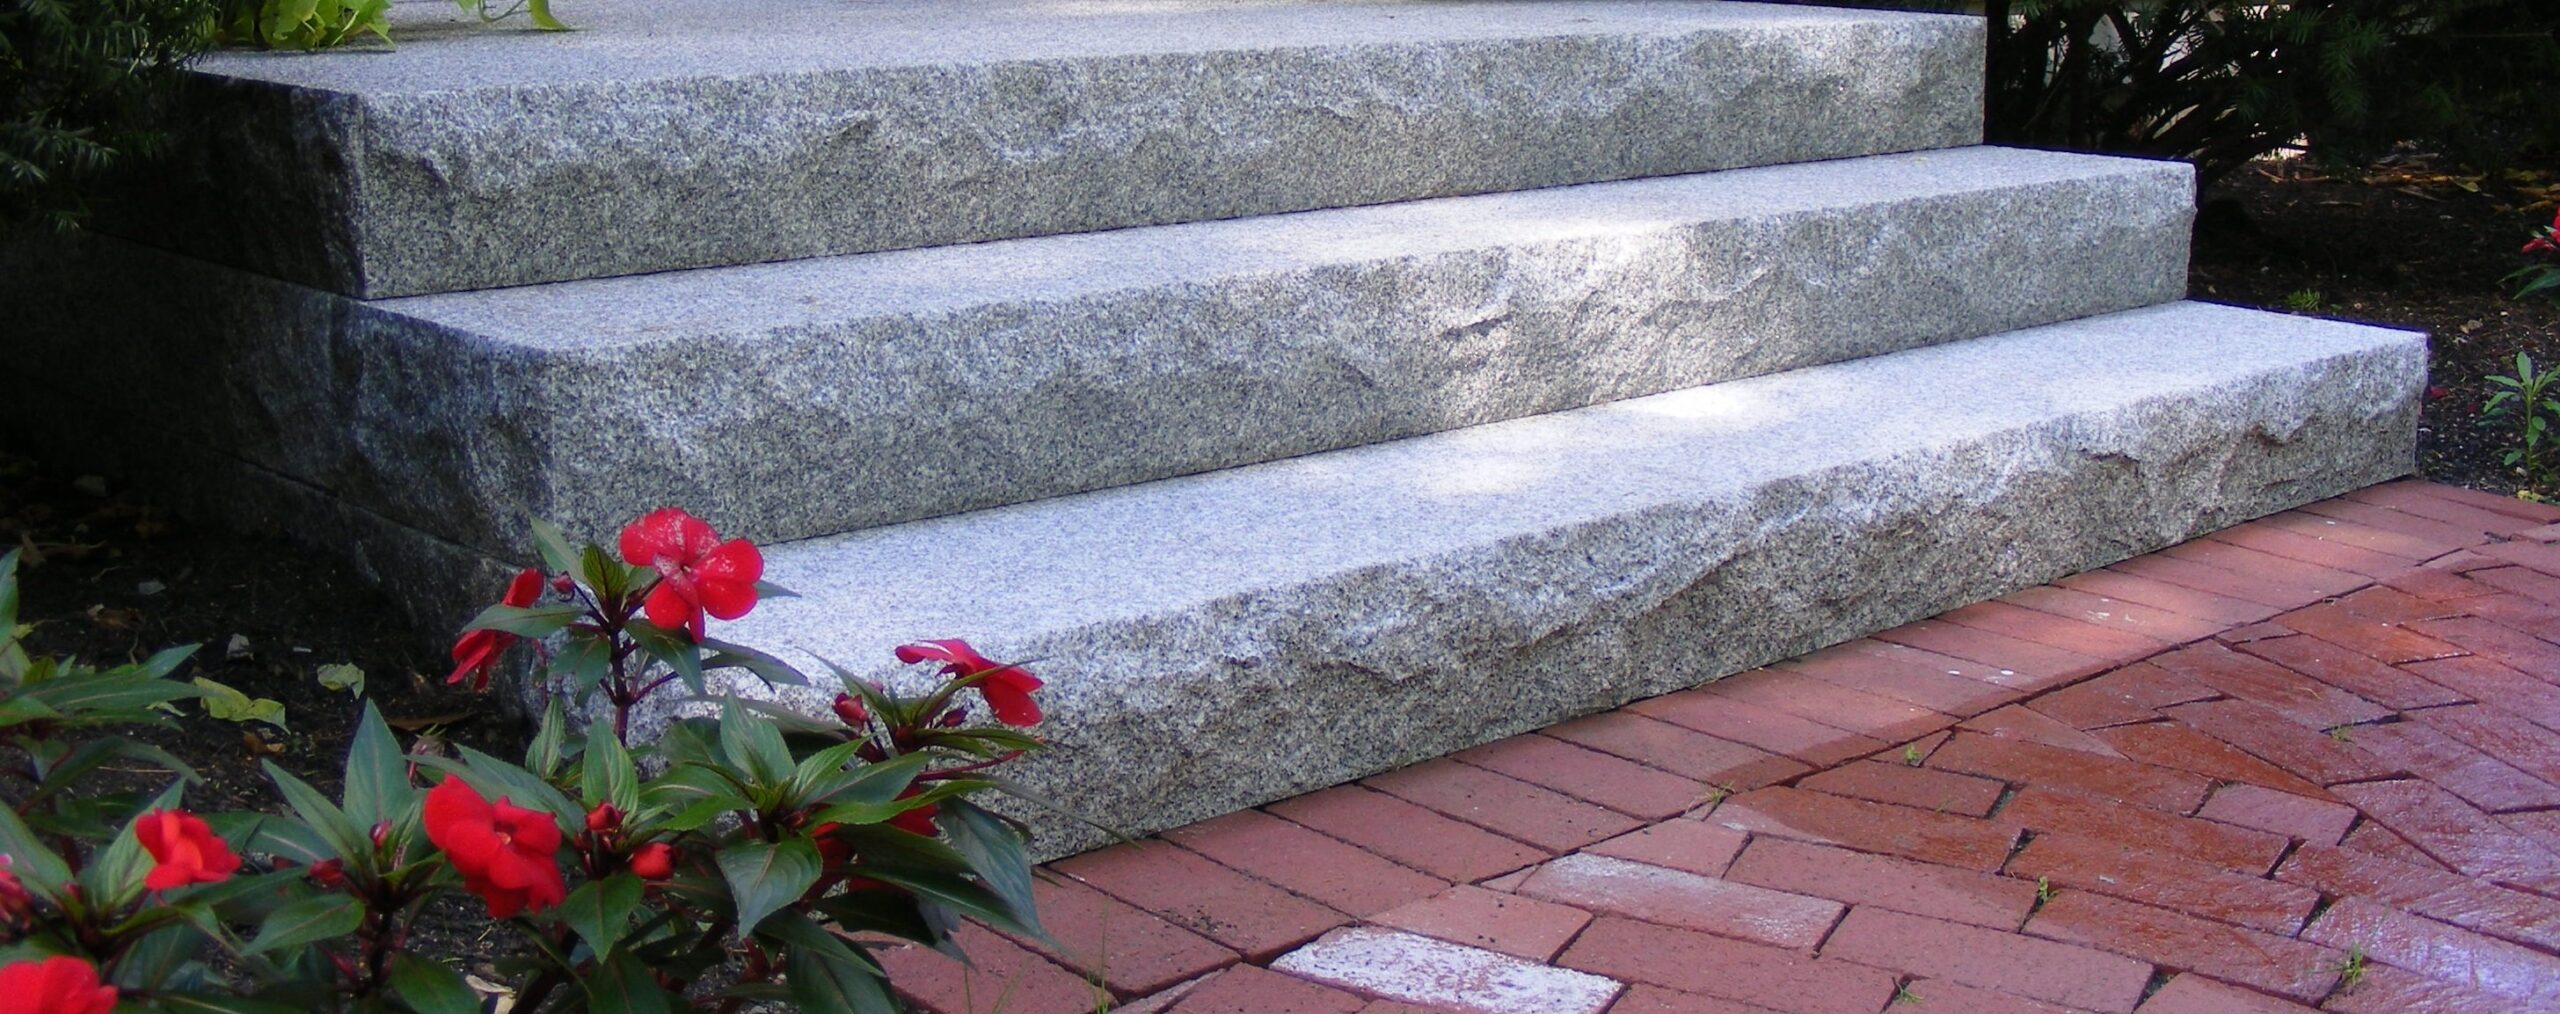
Woodbury Gray granite entry steps
Constructing a gravel pad for granite steps is a 4-step process:
- Prior to installation, take the time to check the condition and quality of the soil. Depending on the existing soil conditions, when prepping the pad it may be necessary to excavate deeper to ensure a well-compacted, properly draining base.
- Excavate an area approximately 1-foot deep that is 6 inches longer than the outside dimension of your set of steps, from left to right. Sometimes, it’s necessary to excavate deeper — depending on soil conditions — to insure a well compacted, good draining base. Make sure this area has been properly located with regard to your doorway and has been compacted prior to adding your processed gravel.
- Fill the excavated area with 3- to 4-inch layers of processed gravel, compacting each layer as you go. A gas operated plate compactor works very well but if one is not available, simply reduce the thickness of the layers, wet down and use a hand tamper or roller to achieve desired compaction.
- Compact the final layer at the level where you want the bottom of your first step. Use your 4-foot level, with a 2-by-4 if necessary, to confirm that your base is level both left to right and front to back.
For heavier jobs, over about 4,000 pounds, Kraus recommends building a concrete pad underneath to ensure the granite will remain level and plumb for a lifetime.

Constructing a concrete pad for granite steps:
- Excavate an area approximately 6 inches deep that is 2 inches longer than the outside dimension of your set of steps, from left to right. Sometimes it’s necessary to excavate even deeper depending on existing soil conditions to insure a well compacted, good draining base. Make sure this area has been properly located with regard to your doorway and has been compacted prior to adding your concrete
- Using 2-inch by 6-inch wood, form up an area to create a box at the appropriate height from the top of the threshold. The wood forms must be level in both directions from left to right and front to back.
- After slightly overfilling your form with concrete, use a 2-by-4 in a side-to-side sawing motion to screed off any excess using the top of your form as a guide. After the concrete has hardened, the wood forms can be removed.
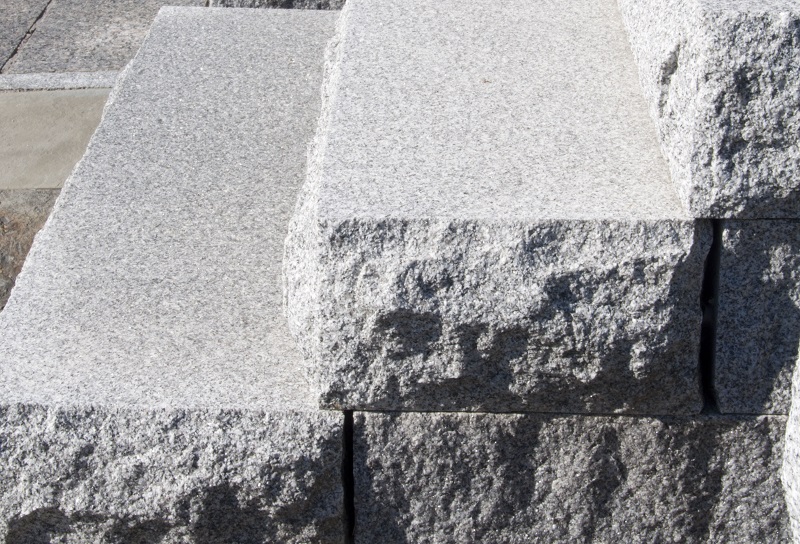
The installation process for granite steps takes less time to complete than steps made from other materials, such as concrete, which are installed in stages and can require building intricate forms with rebar and wire mesh. Additional time is also needed to allow poured concrete to cure to the proper PSI. With granite, once the pad is prepared, the steps are quickly installed by simply stacking them one on top of the other.
Installing granite steps doesn’t just bring long-lasting beauty and instant curb appeal to your customer’s homes, they provide an unmissable and unmistakable calling card for the quality of your work. And given granite’s durability, those steps will generate referrals for decades to come.


